Common Mistakes When Installing Skirting Boards | Skirting Supermarket
Share
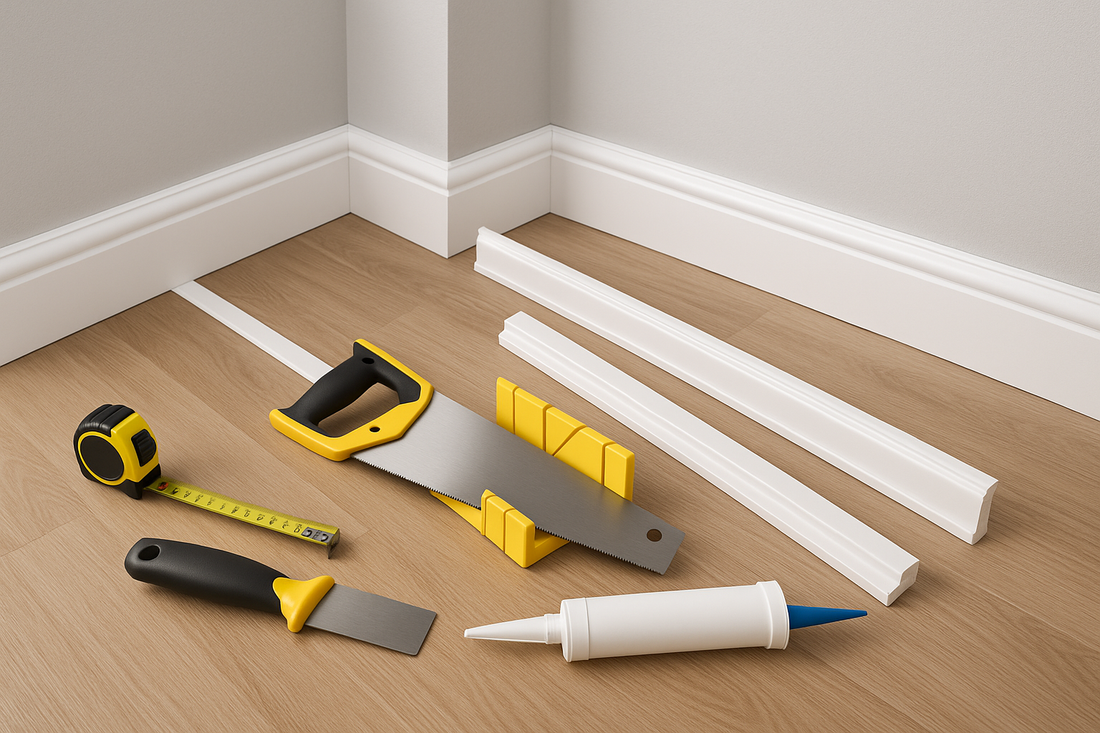
⚠️ Common Mistakes When Installing Skirting Boards (and How to Avoid Them)
Installing new skirting boards can instantly refresh a room, but getting it wrong can spoil the finish. Even small fitting errors can lead to gaps, uneven joins, or warped boards over time.
To help you get a professional result every time, here are the most common mistakes people make when fitting skirting boards — and how to avoid them.
❌ 1️⃣ Not Preparing the Walls Properly
If your walls aren’t smooth or clean before fitting, your skirting boards won’t sit flush — leaving visible gaps or uneven edges.
✅ Fix:
-
Remove all old adhesive, nails, and dust
-
Fill any holes or cracks with filler
-
Use a spirit level to check wall straightness before cutting your boards
💡 Preparation is key — a clean surface ensures your adhesive bonds properly.
❌ 2️⃣ Cutting Corners at the Wrong Angle
One of the most common issues for DIY fitters is getting internal and external corners wrong.
Even a few degrees off can leave noticeable gaps.
✅ Fix:
-
Always cut internal corners at 45°, coping one board if possible for a perfect join
-
For external corners, mitre both ends at 45° so they meet neatly
-
Use a mitre saw or a mitre box to ensure accuracy every time
💡 Practice on offcuts before making your final cuts.
❌ 3️⃣ Using the Wrong Adhesive or Fixings
Using poor-quality adhesive or too little of it can cause boards to come loose over time.
On the other hand, relying only on nails can lead to split boards or visible fixings.
✅ Fix:
-
Use a strong grab adhesive designed for MDF or timber
-
For uneven walls, combine adhesive with panel pins for extra grip
-
Press firmly along the length of the board to ensure full contact
🛒 All MDF Skirting Boards at Skirting Supermarket are lightweight and easy to secure with modern adhesives.
❌ 4️⃣ Forgetting to Leave Expansion Gaps
Timber and MDF can slightly expand and contract with changes in temperature and humidity.
Fitting them too tightly can cause buckling or cracks later on.
✅ Fix:
-
Leave a 1–2mm expansion gap between boards
-
Use caulk to seal after fitting — it keeps the finish neat and flexible
❌ 5️⃣ Painting Before Fitting (or Too Soon After)
Many people paint their boards before installation — but that often leads to scuffs, chips, and paint lines that don’t line up with the wall.
✅ Fix:
-
Fit and caulk your boards first
-
Then paint everything together for a cleaner, more consistent look
-
Only paint before fitting if you’re spraying them or working in tight spaces
💡 Our primed white MDF skirting makes painting after fitting quick and easy.
❌ 6️⃣ Not Checking the Floor Level
Uneven floors are a common problem in older homes. If you don’t account for dips or slopes, your skirting will appear crooked once fitted.
✅ Fix:
-
Use a spirit level on every wall
-
Mark a consistent top line and cut boards to suit
-
Sand or scribe the bottom edge slightly for a perfect fit
🪵 7️⃣ Ignoring the Finishing Touches
Even perfectly cut skirting can look rough without proper finishing.
Small details like filled joints and clean paint lines make all the difference.
✅ Fix:
-
Use decorator’s caulk along the top edge
-
Fill all nail holes and joins with fine filler
-
Lightly sand before your final coat of paint for a seamless finish
🏁 Final Thoughts
Installing skirting boards doesn’t have to be difficult — it’s all about preparation and patience.
By avoiding these common mistakes, you’ll achieve that crisp, professional look every time.
At Skirting Supermarket, our primed MDF skirting boards are designed to make fitting easier — smooth, straight, and ready to install with fast UK delivery.
👉 Shop MDF Skirting Boards
Primed White | Over 60 Profiles | Fast UK Delivery